How to Change Photo in Aadhar Card: The Adhaar card has become an important document nowadays. It has now become mandatory to benefit from most government schemes or subsidies. It has become identity-proof. But most people don’t like their Aadhaar cards as they have an old photo on them. If you, too, belong to the same group, this article is for you.
You can change the photo on your Aadhaar card, and an appointment can be scheduled from the comfort of your home. You can change your Aadhaar card photo any number of times. In this article, we will discuss how to change photo in Aadhar card.
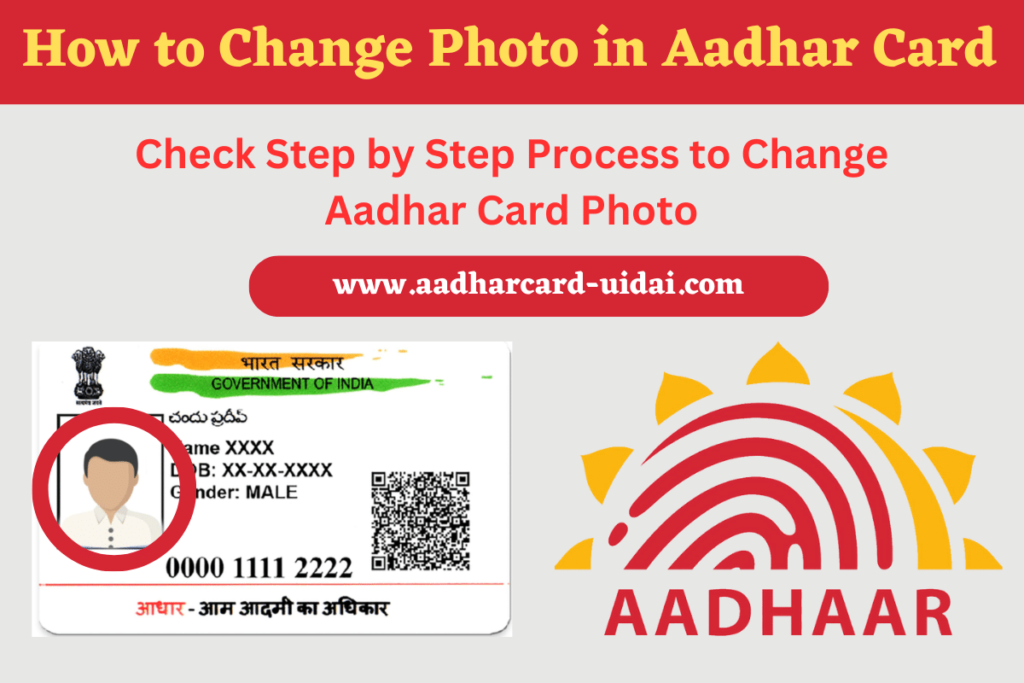
How to Change Photo in Aadhar Card/ Aadhar Card Photo Change Process
With the following steps, you can change photo in Aadhar Card:-
Step 1: Visit the official website of UIDAI: https://uidai.gov.in/.
Step 2: Select your preferred language.
Step 3: Click the “My Aadhaar” option in the top menu.
Step 4: In the “Get Aadhaar” section, click the “Book an Appointment” option.
Step 5: Select your city in the toggle bar and click the “Proceed to Book Appointment” button.
Step 6: Enter your Aadhaar number & the captcha code, and click the “Generate OTP” button.
Step 7: Enter the OTP sent to your registered mobile number and click the “Verify OTP” button.
Step 8: Enter your Aadhaar card number and name. Select your state, city and nearest Aadhaar Seva Kendra and click the “Next” button.
Step 9: Select the “Biometric ( Photo/ Iris/ Fingerprint” option and then click on the “Next” button.
Step 10: Select the preferred date and time for the appointment and then click on the “Next” button.
Step 11: Your details will be shown to you on this page. Click on the “Submit” button.
Step 12: Select an option for online fee payment and click the “Make Payment” button.
Step 13: Pay Rupees 100, download the receipt, and take a printout.
Step 14: Visit the Aadhaar Enrollment Centre / Aadhaar Seva Kendra (at the address given in the receipt) on the selected date and time.
Step 15: Show the receipt to the Aadhar Seva Kendra operator. Your biometrics will be taken, and your live photo will be updated on your Aadhaar card.
Check Aadhar Card Photo Change Status
After submitting the Aadhaar update form, you can check its status online. Here are the steps to check the status:-
- Visit the official website of UIDAI using this link: https://uidai.gov.in/en/.
- Under the ‘My Aadhaar’ section, click on the “Check Aadhaar Update Status” option.
- You will see three options on the screen: Enrollment ID, SRN, and URN. Select “URN.”
- Enter URN and the Captcha Code, and click the “Submit” button.
- Once you hit submit, the status of your Aadhaar Update application will be shown on the screen.
Download the Aadhaar Card After Photo Change
Here is the process to download the Aadhaar card online once your photo is updated on it:-
- Step 1: Visit the official website of UIDAI using this link: https://uidai.gov.in/en/.
- Step 2: Move to the ‘My Aadhaar’ section. Under this, look for the ‘Get Aadhaar’ tab and click the “Download Aadhaar” option.
- Step 3: A new page will open; click the “Download Aadhaar” option.
- Step 4: You will see three options here, including an Aadhaar Number, an Enrolment ID Number, and a Virtual ID Number. Click on “Aadhaar Number.”
- Step 5: Now, enter your Aadhaar Number and Captcha Code.
- Step 6: Click on the “Send OTP” button. You will receive an OTP on your registered mobile number.
- Step 7: Enter the OTP. You will see an option: ‘Do you want a masked Aadhaar?.’ Select this option if you want to download a masked Aadhaar card. Otherwise, do not select it.
- Step 8: Click on the “Verify and Download” option. Your Aadhaar card will now be downloaded.
Useful Links Section
| Change Aadhaar Card Photo at UIDAI Portal |
| More Useful Updates of Aadhar Card UIDAI |
| Book Appointment at Nearest Aadhaar Seva Kendra |
Conclusion
In this article, we have mentioned all the steps “How to change photo in Aadhar card“. You can book your appointment at the nearest Aadhaar Seva Kendra and easily change your Aadhar card photo. We hope you liked the information. For more informative articles, please keep visiting our website and join our WhatsApp and Telegram groups for more updates.
FAQs
Q. How to change photo in Aadhar Card online?
Ans. It is not possible to completely change your Aadhar photo online. You can make your request online on the official website, but in the end, you must visit an official Aadhaar Seva Kendra.
Q. What is the fee for an Aadhaar photo change?
And: A fee of Rupees 100 will be charged at the government-authorized centers for photo update/change (biometric update) in the Aadhaar card. You will also receive a slip for this payment with your URN (Urgent Request Number).
Q. How many times can I change the photo on my Aadhar card?
Ans: You can change the photo on your Aadhar card as many times as you want. However, the name on the Aadhar card can only be changed twice.
Q. Why should I update my Aadhaar card photo?
Ans. Though it is not mandatory to update your Aadhaar photo, you can do the update if your Aadhaar is way too old (more than 10 years).
Q. How much time will it take to update my Aadhaar photo?
Ans. Usually, it takes up to 30 days to get your request done for an Aadhaar photo update.
Karn thi badalva no cha
My aadhar card photo change
I want my Aadhaar photo change
My Aadharcard photo update